How to Categorise Your Suppliers with Tags
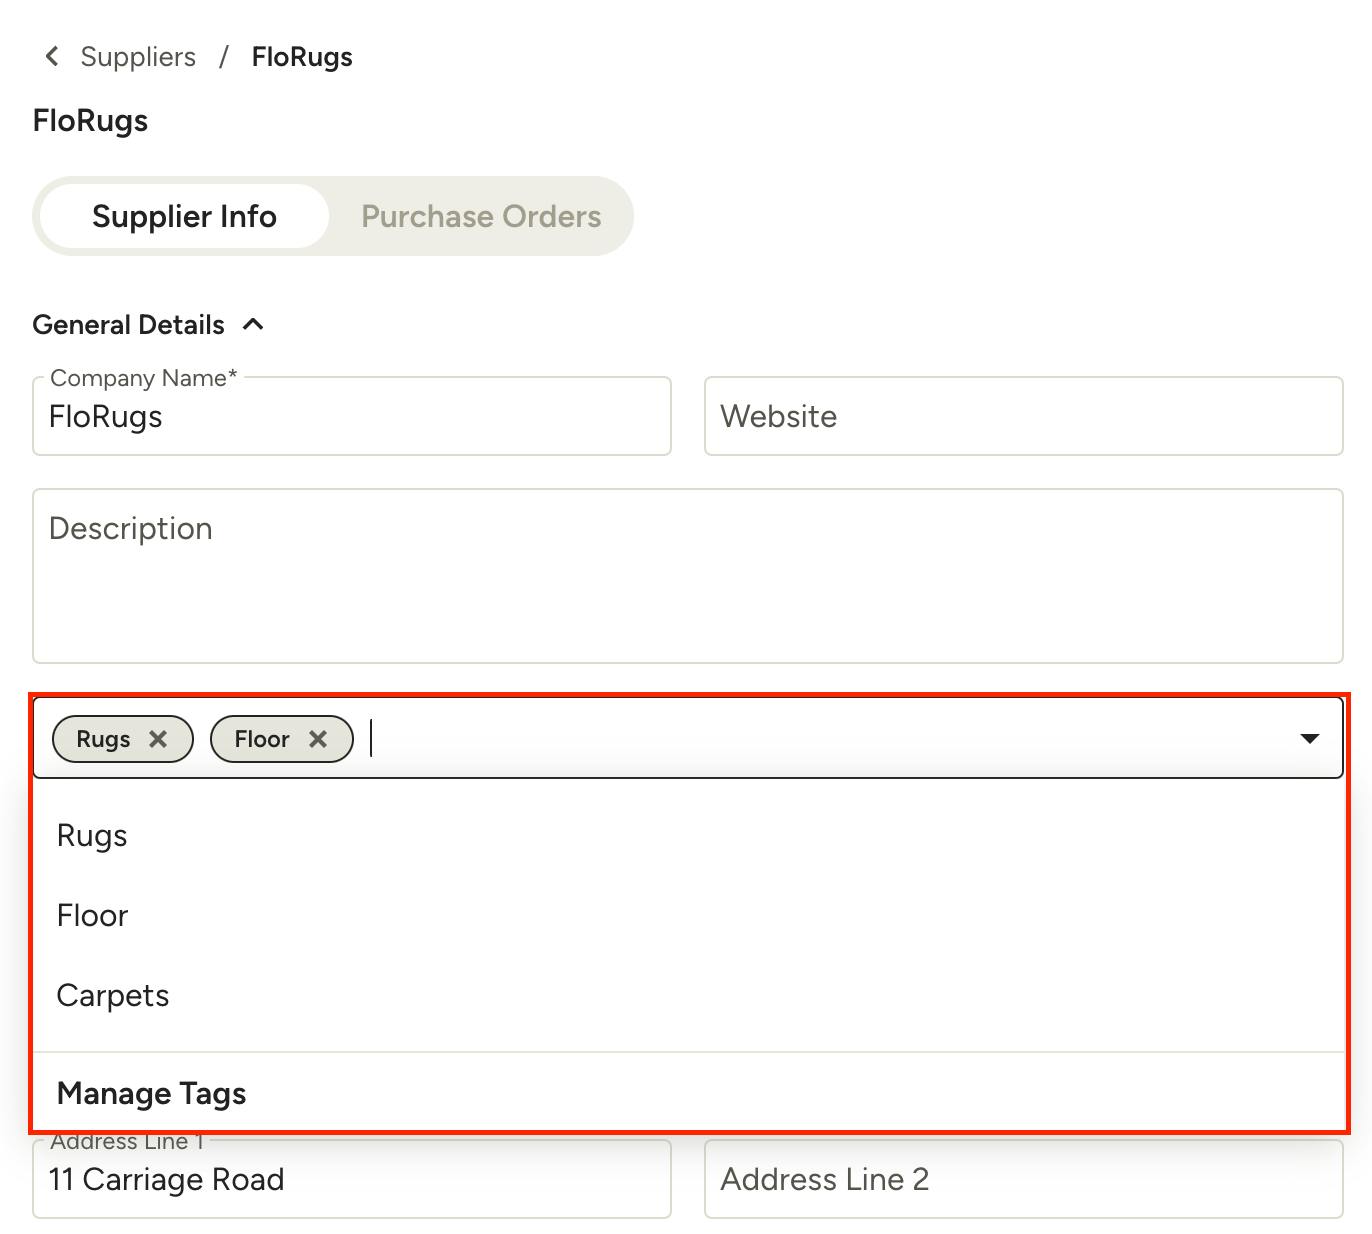
Keep your growing supplier list organised by using category tags. You can have multiple tags per supplier, which will allow you to quickly find the type of supplier you need for each project, whether it's a small bathroom or a full-scale build.
To add tags to your suppliers, you must be in the "Edit" or "Add New" supplier screen, both of which can be managed from your Suppliers section, under the Company menu. You will find the tags dropdown in the General Details section. Select one or more existing tags to add and you will see the tag(s) appear at the top of the dropdown.
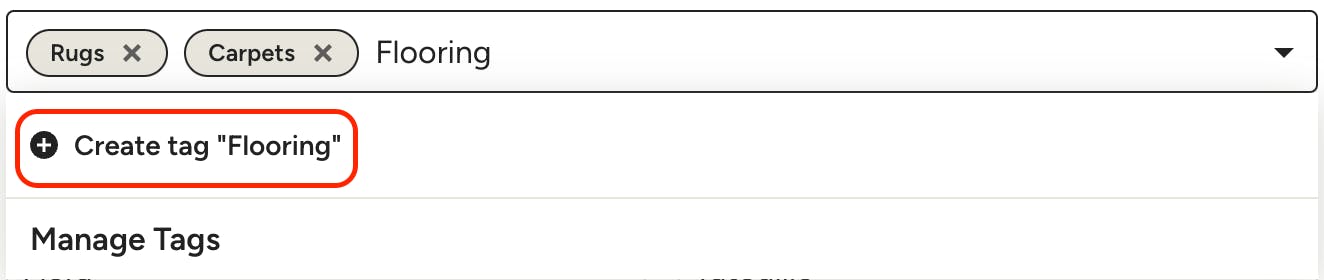
You can easily add your own custom tags by typing and clicking Create tag.
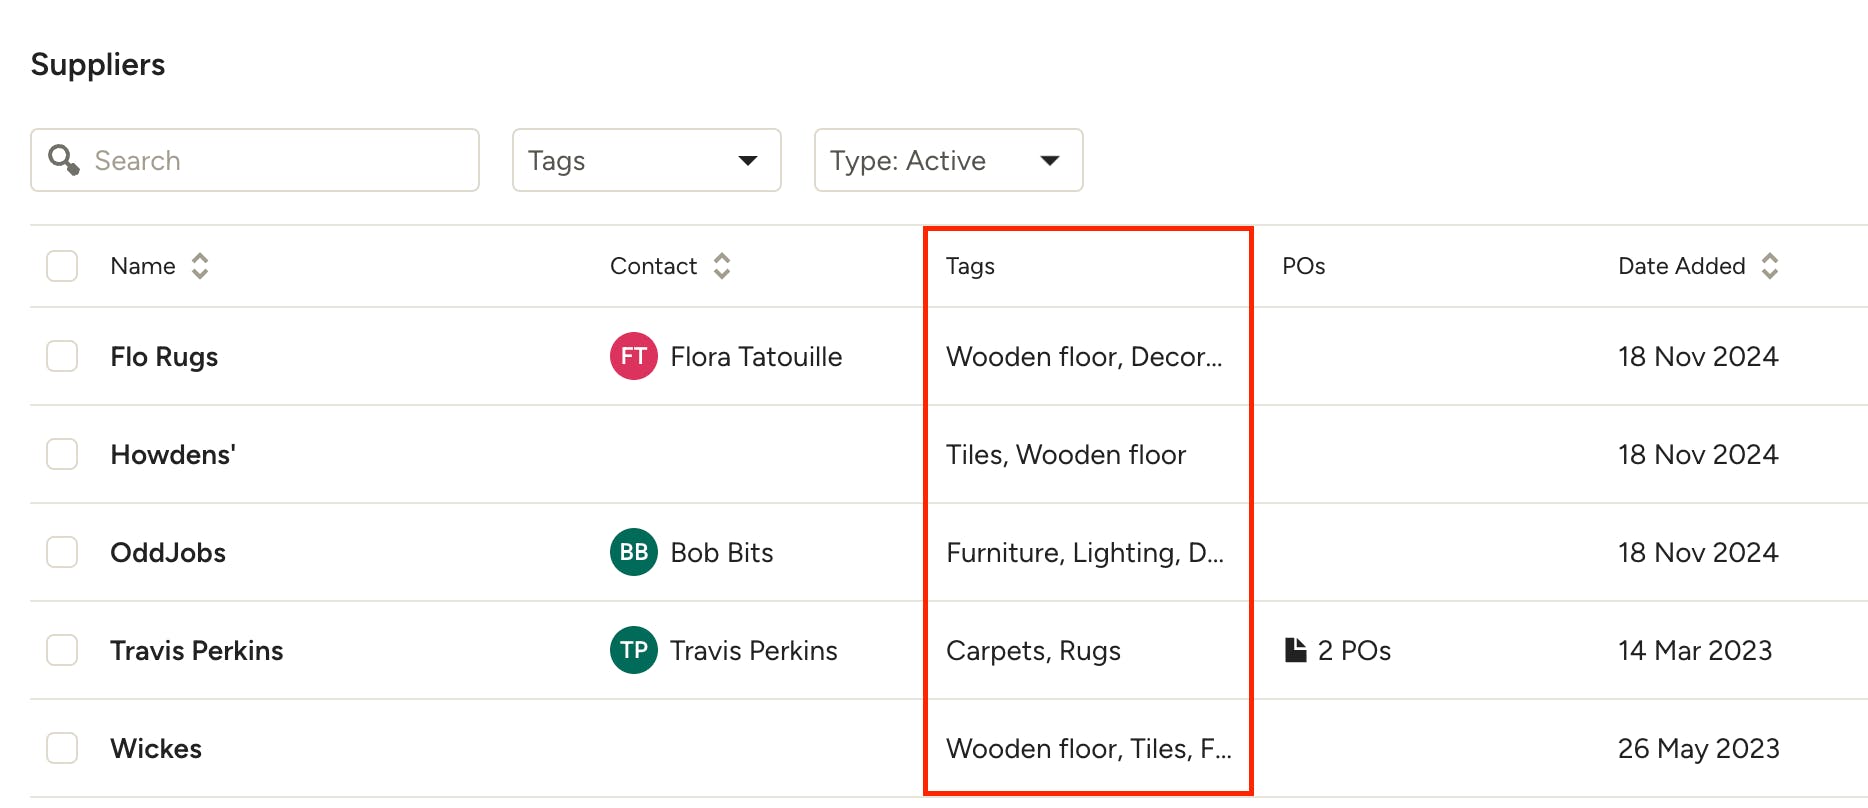
Once you've added category tags to your supplier(s) you'll see them appear in the Tags column on the Suppliers page for quick reference.
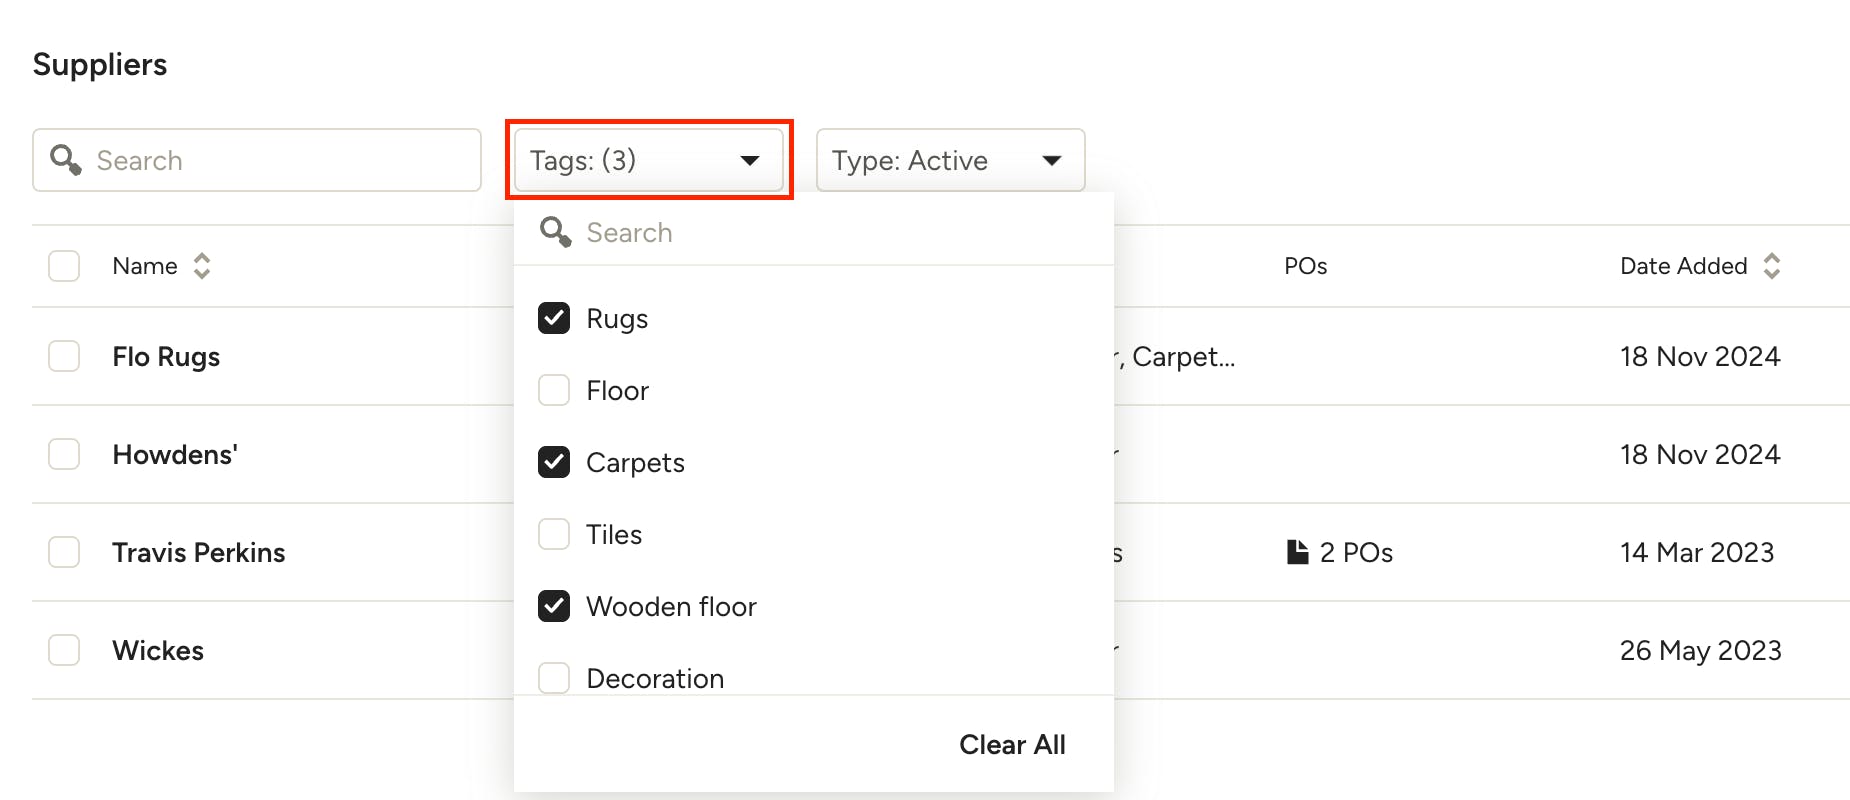
Use the Filter function at the top to narrow down to the tag(s) of suppliers you're looking for. This is especially helpful for companies with large supplier libraries.

Manage Supplier Tags
You can manage your supplier tags from the Suppliers overview page as well as in the edit view on an individual supplier.
From the Suppliers Overview: Click the Actions menu at the top of the page and select Manage Tags.
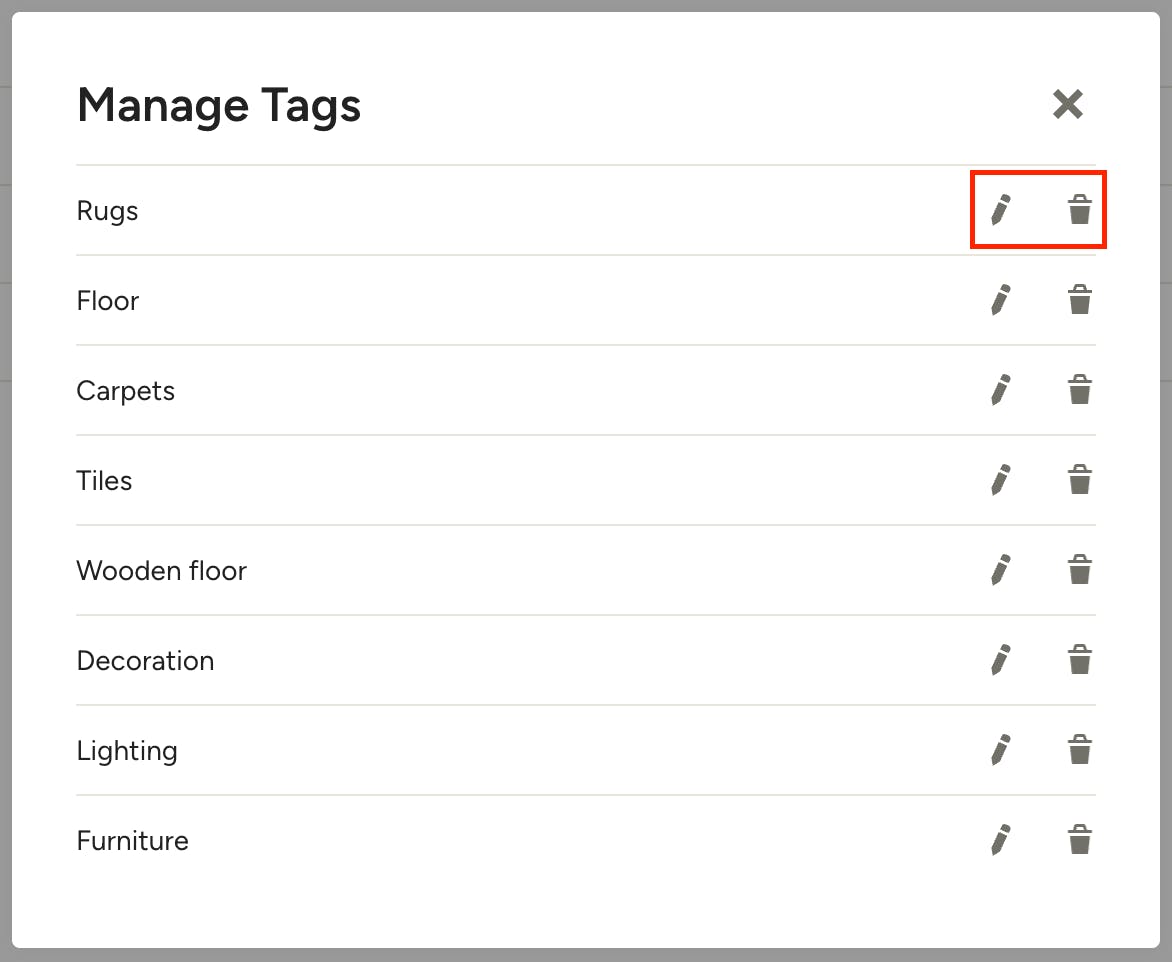
In the Manage Tags modal you can edit the name of a tag or delete a tag using the icons to the right of each one. If you choose to delete a tag you will be asked to confirm – the tag will be removed from all suppliers and can't be undone.
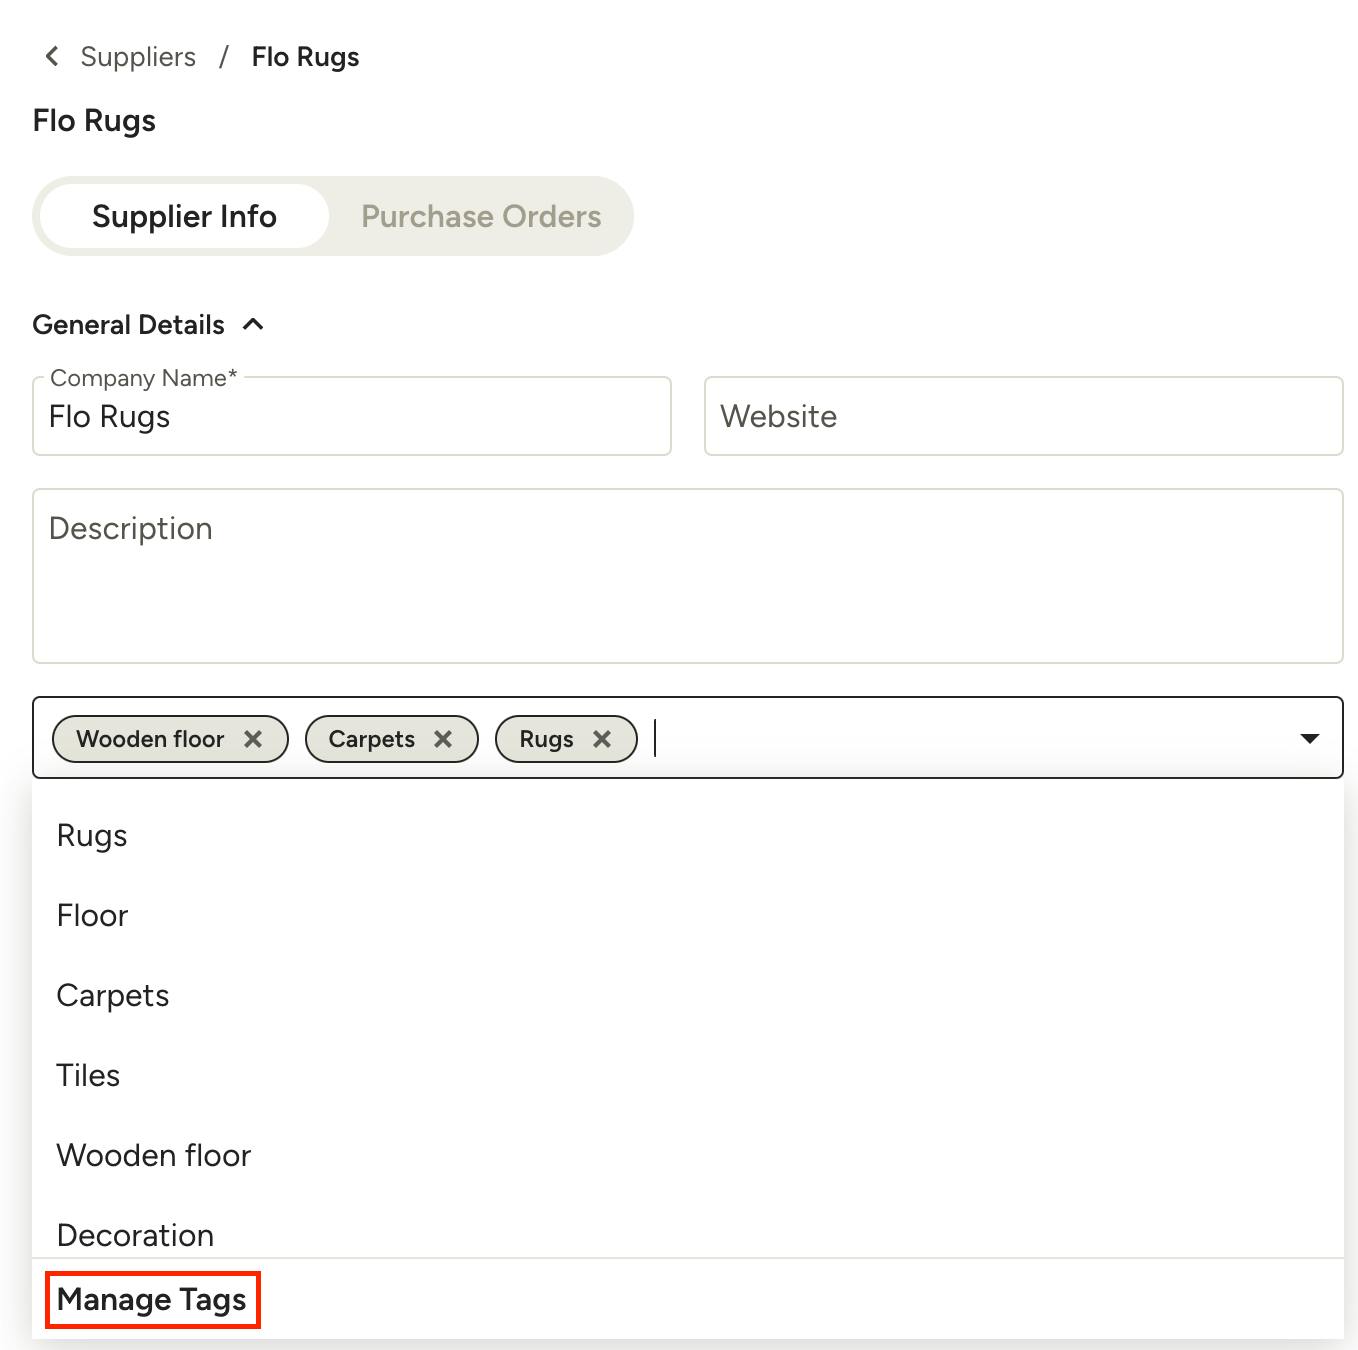
From the Edit Supplier Page: Click into the tags dropdown and select Manage Tags at the bottom of the list. The Manage Tags modal will open where you can edit or delete tags.